
Add and Remove Accounts from Data Sources
Last updated
Note: Within a connected data source, accounts are subsets of data within data sources that can be selected individually to sync with PMA's data warehouse and use in reports. Accounts correspond to divisions within the data connector's platform, such as multiple pages under a Facebook Insights data source or multiple business locations in Google Business Profile.
Using the Manage Accounts Panel
In the Sources section of your hub, the Manage Accounts panel provides detailed control over individual accounts within your connected data sources. This panel allows you to configure settings, enable or disable specific accounts, and manage data synchronization at the account level.
Note: Only enabled accounts will be included in your reports and data collection. Disabled accounts are automatically excluded from all reporting.
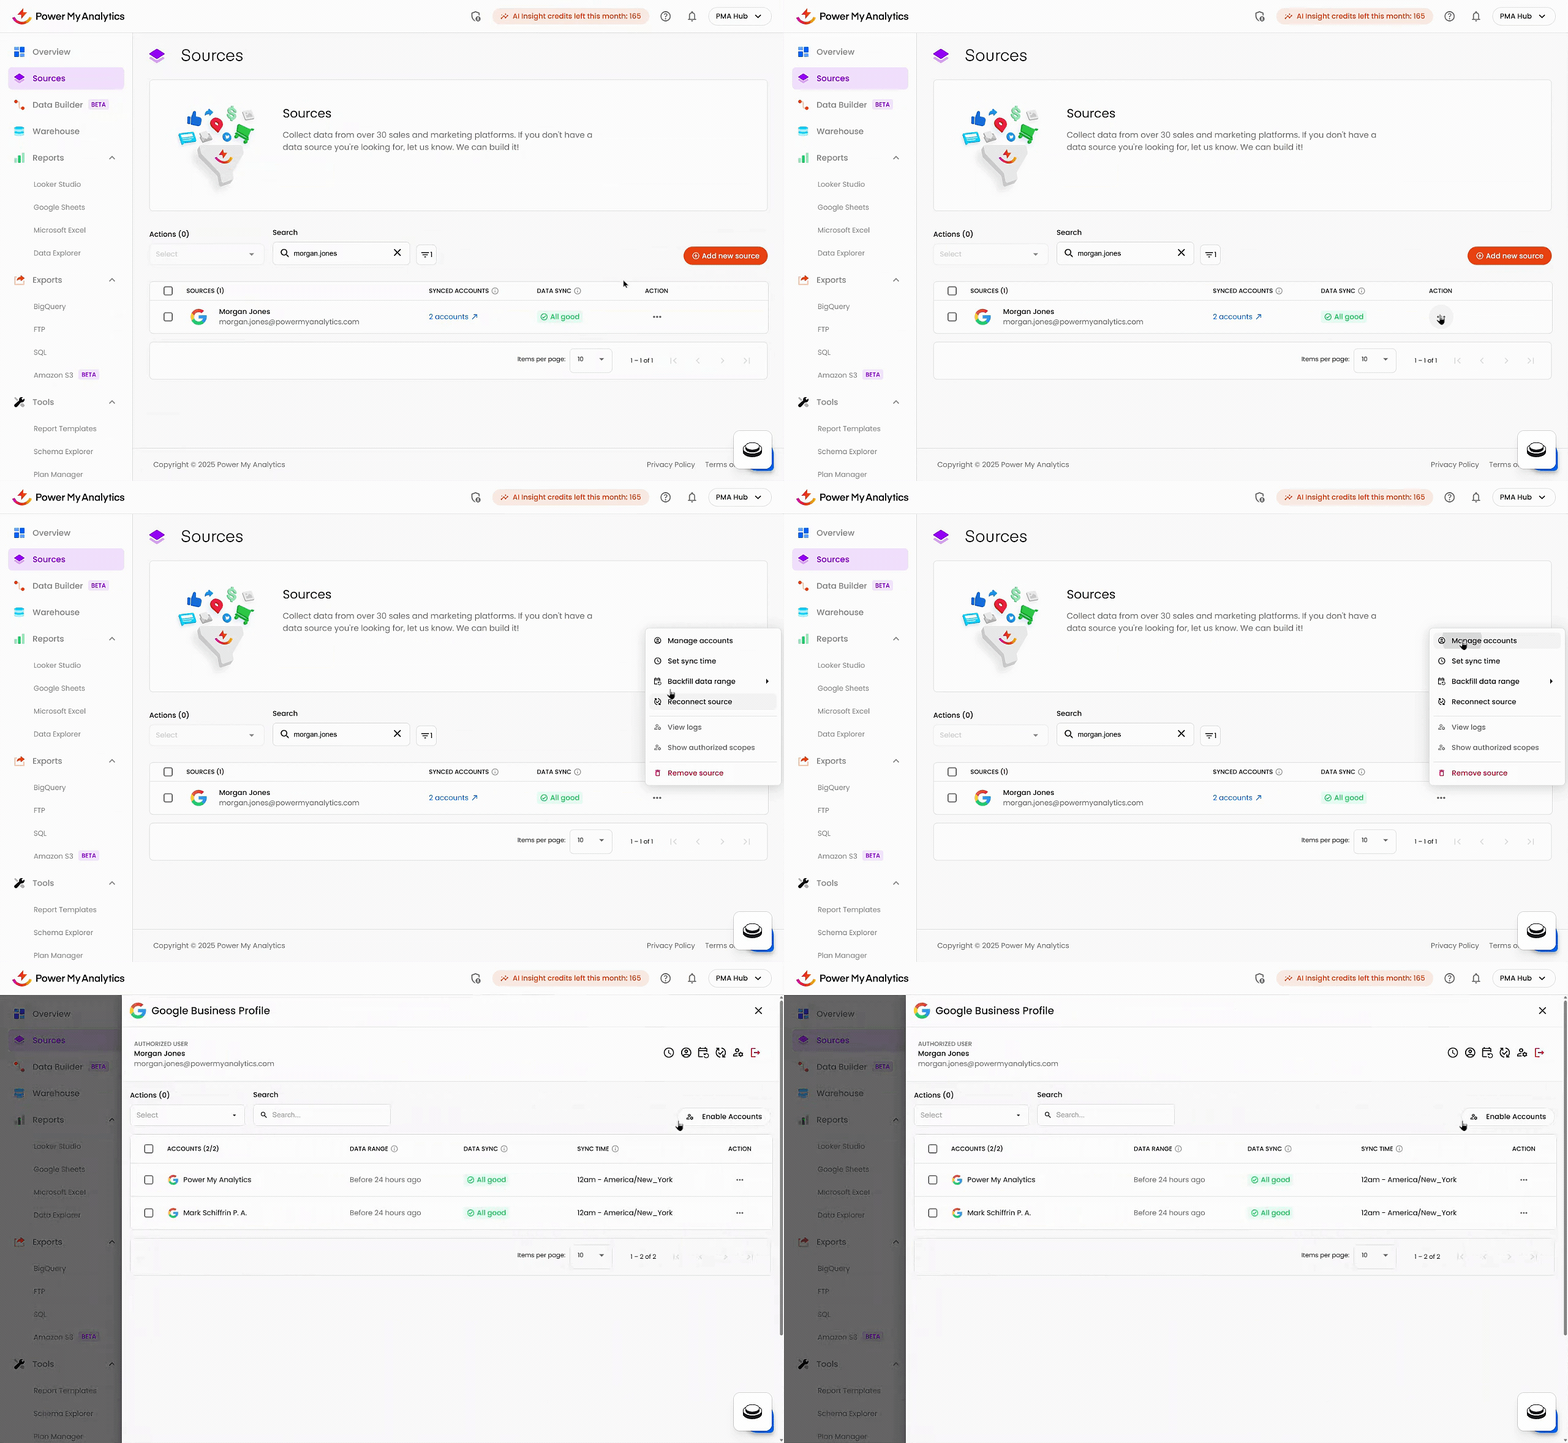
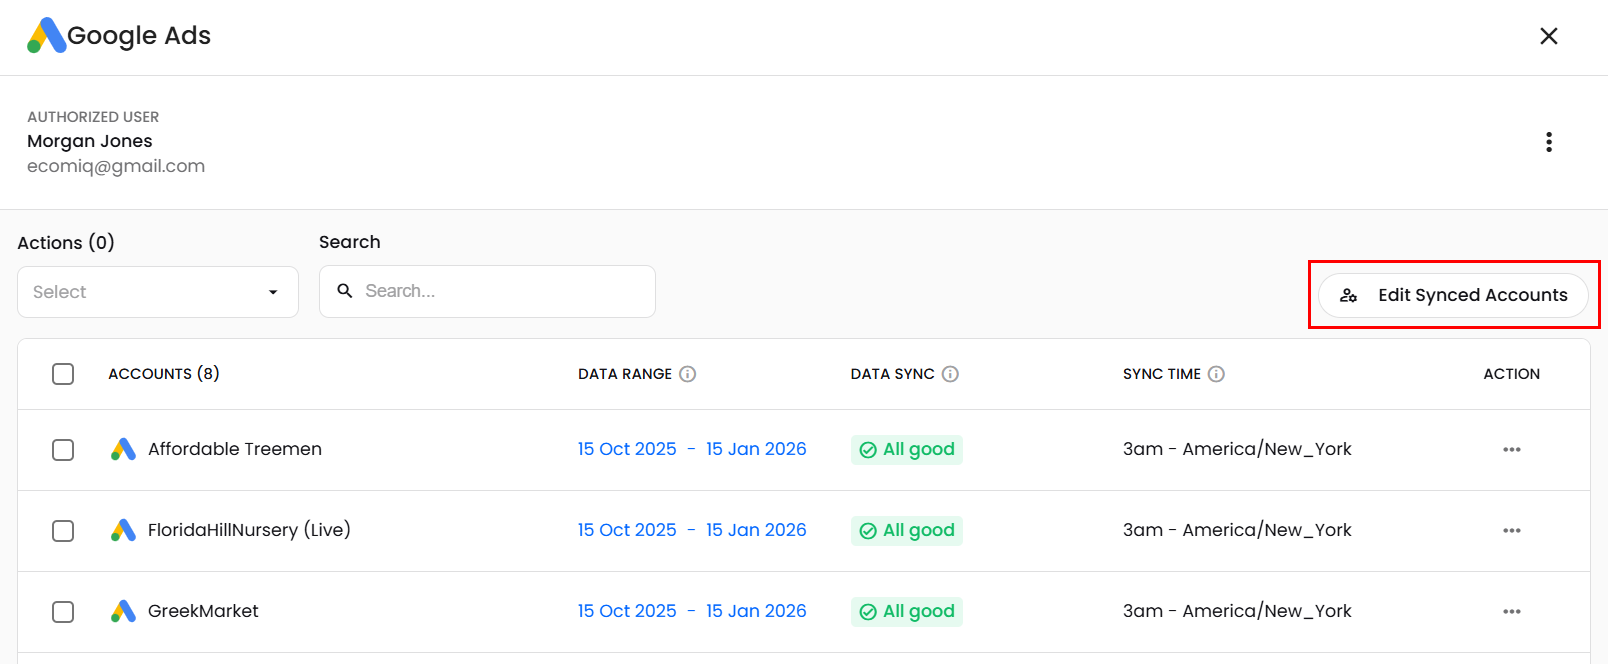
To open the Manage Accounts panel, click the data source in the Sources table, or click the three-dot menu in the Actions column next to the data source and select View account details.
Add a New Account in a Connected Data Source
If you have a connected data source that contains multiple accounts (such as Facebook Ads with multiple ad accounts or Google Business Profile with multiple locations), you can enable additional accounts that are not currently active in your data source connection.
Navigate to your Sources page in your Power My Analytics hub.
Locate the data source containing the account you want to enable.
Click the three-dot menu in the Actions column and select Add or remove accounts. The Edit Synced Accounts list opens. (If the Manage Accounts panel is already open, click Add or remove accounts at the top of the panel.)
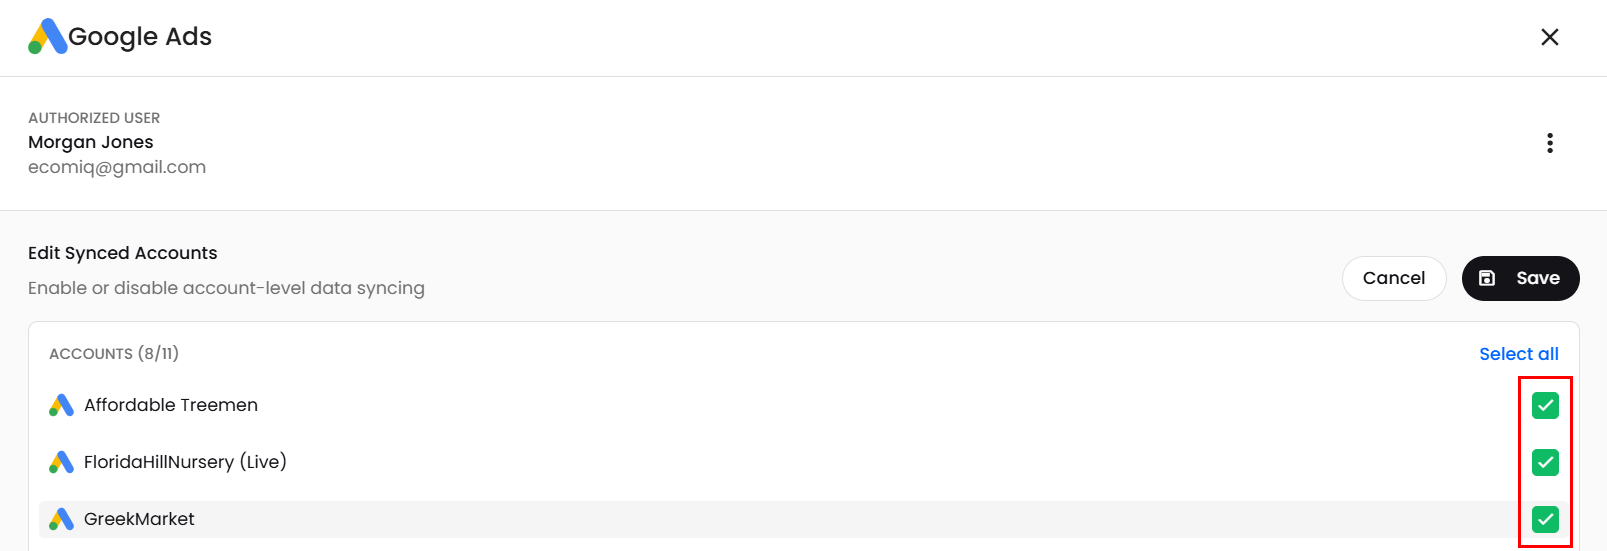
Check the box next to the account name you want to include in your data source connection (you can search by account name), or use the checkbox at the top of the list to select all of the available accounts.
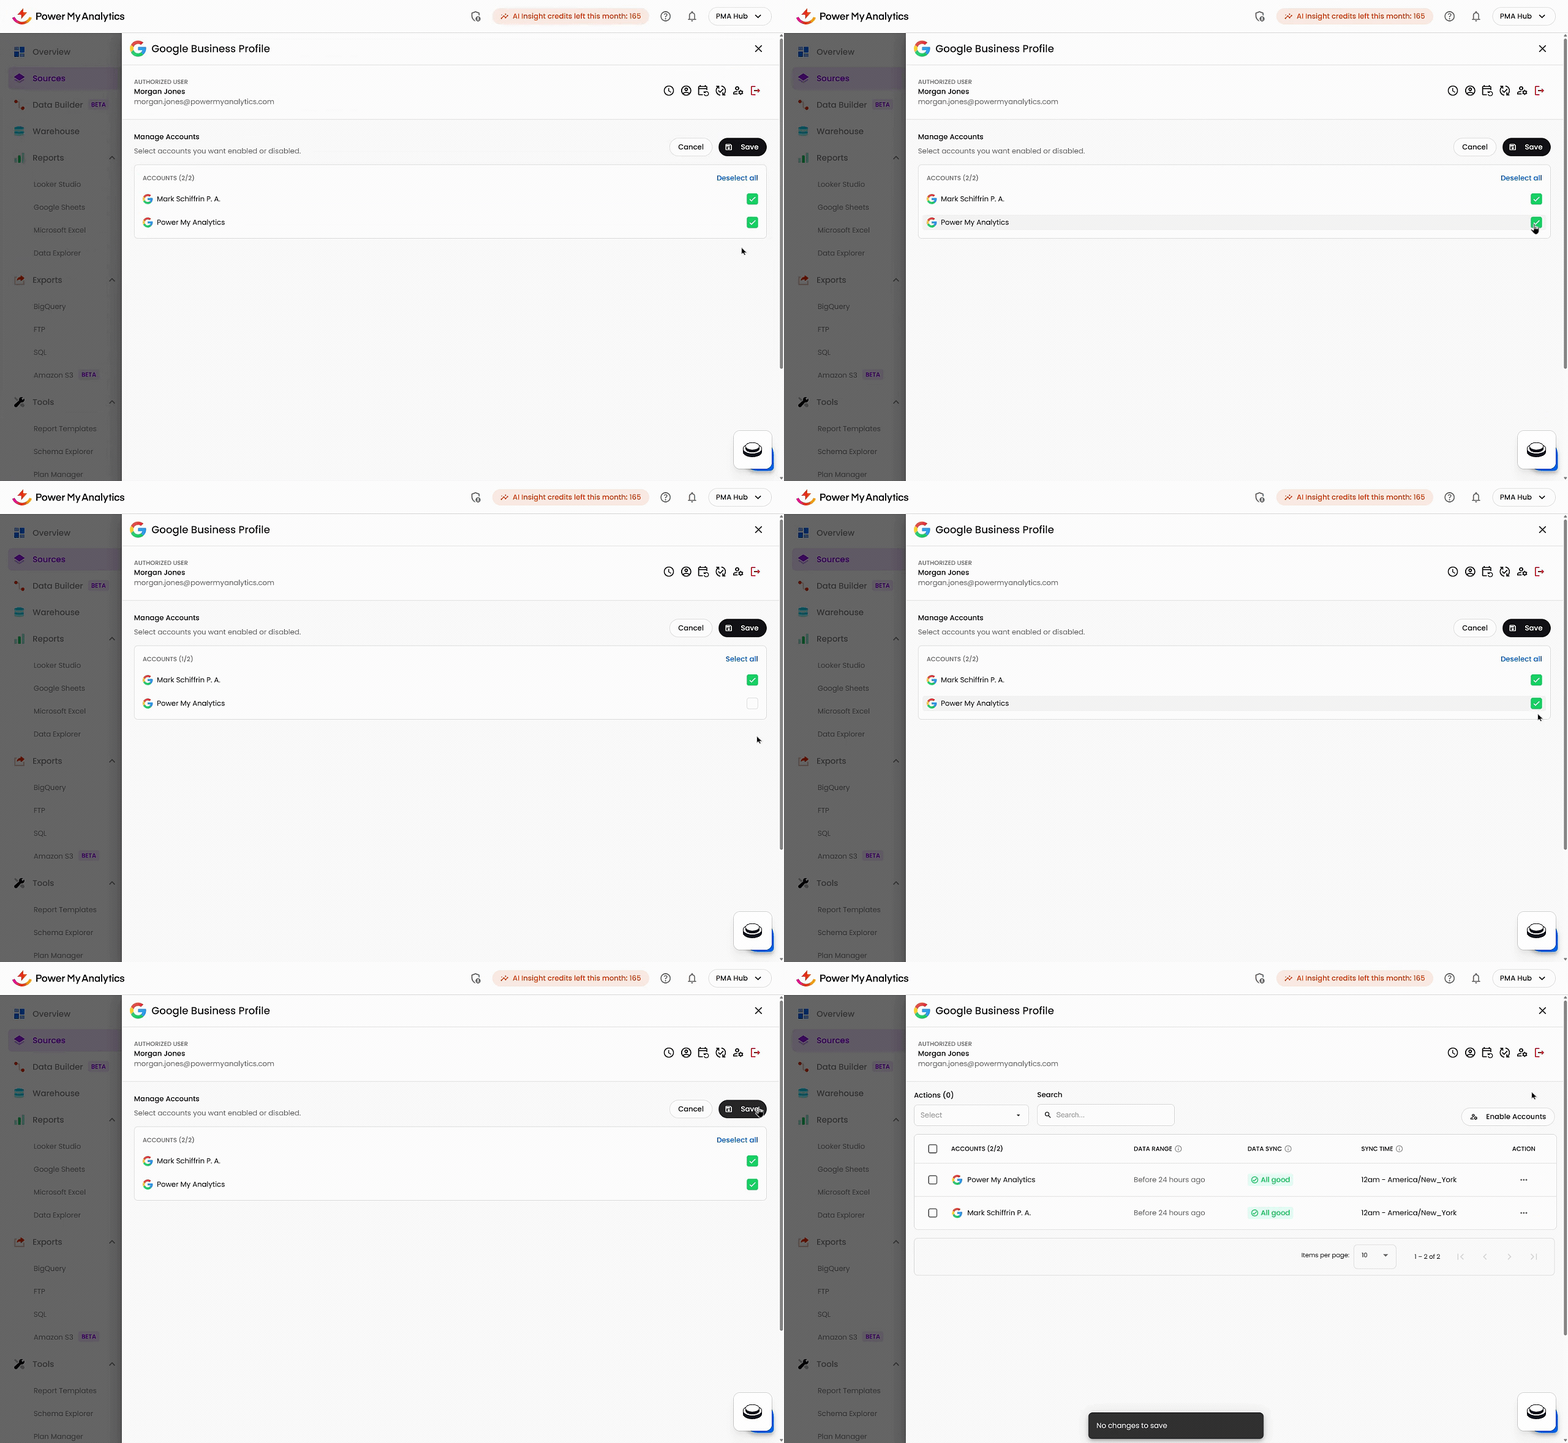
Click the black Save button to confirm your selection.
Once enabled, the account will begin backfilling data and will appear in the Manage Accounts main table with a Synced or Syncing status. The newly enabled account data will then be available in your reports and exports.
Important: Hub account limit: If your Hub Owner has set an account limit for the hub, you may see a "Hub limit reached" message when attempting to enable additional accounts. This means the maximum number of connected accounts per data source type has been reached. Contact your Hub Owner to request an increase or removal of the limit in Settings > Account Limits. For more information, see Manage Account Limits in Your Hub.
Note: Billing impact of enabling accounts: Each PMA plan includes a set number of accounts, and enabling accounts beyond your plan's included quota can result in additional charges on your bill. On the Business plan, additional accounts beyond the 5 included are billed at $14.95/month each. On the Pro plan, additional accounts beyond the 20 included per source are billed at volume pricing rates, and overage charges are based on your single highest-count connector (whichever data source has the most accounts determines the overages for your hub). For full pricing details, see Billing Basics and Best Practices. Hub Owners on standard plans can proactively prevent unexpected overages by setting an account limit in Settings > Account Limits.
Don't See the Account You Want?
If the account isn't in the Edit Synced Accounts list, work through these steps in order:
- Refresh the account list: Click the three-dot menu in the Actions column next to the data source and select Refresh accounts, then open Add or remove accounts again. See Refresh the Account List for a Data Source.
- Renamed the account on the platform? Search the list for its old name as well as its new one (any part of the name works). An account that was enabled before it was renamed can still show its old name here.
- Meta accounts: If it's a Facebook Ads, Facebook Insights, or Instagram Insights account, allow up to 24 hours for Meta to make it available, then check again.
- Check permissions: Confirm on the platform that the login shown as Authorized User at the top of the Manage Accounts panel has access to the account.
- Submit a ticket: If that login has access and the account still doesn't appear, contact our support team.
For details on each step, see Why Can’t I See All of My Accounts in My Hub?
Understanding Account Availability
Enabled vs. Disabled Accounts
You can enable or disable accounts at any time using the Manage Accounts panel. Disabled accounts will stop syncing new data but can be re-enabled whenever you need them.
What "All Accounts" Means in Data Studio
When configuring a PMA data source in Data Studio, the Account multi-checkbox dropdown only displays accounts that have been enabled as synced accounts for that data source in your Hub.
Account names in this dropdown come from your data source's account list, so an account renamed on the platform shows its new name here once that list updates (most data sources update it every night, and Refresh accounts updates it right away). Reports that already use the account keep working, because they're linked to the account's ID rather than its name.
If you select "All Accounts" in this dropdown, your report will include:
- All accounts currently enabled to sync in your Hub within the connected data source
- Only accounts that PMA currently has access to on the source platform
Important: If PMA later loses access to an account that was included in your report (whether individually selected or included via "All Accounts"), that account and its data will be automatically removed from the report.
Accounts with Lost Access
If you lose access to an account on the source platform - for example, if you are removed from a Google Ads account, lose admin permissions on a Facebook page, or are no longer associated with a business profile - that account will behave differently than a manually disabled account:
- The account may still appear in your Hub's Manage Accounts panel but will show an error status indicating the access issue.
- The account will not appear as an available option when configuring reports in destinations like Data Studio, Google Sheets, or other integrations.
- The account will not be included in "All Accounts" selections in Data Studio, even if it was previously included.
- Historical data for the account remains stored in your Hub, but you cannot create new reports using that account until access is restored.
- Existing reports that included this account will have the account and its data removed automatically.
To restore reporting access:
- Verify your permissions on the source platform and request access from the account owner if needed.
- Once access is restored, reconnect or reauthenticate the data source in your Hub.
- The account should then reappear in your destination configuration options and be included in "All Accounts" selections.
Still Have Questions?
No worries - we're happy to help!